Hive management: digital tracking of naturally mated queens
Hives are the foundation of your record-keeping in QueenBees. Each hive represents a physical box or colony in your operation, whether it’s a full-size hive, a mating nuc, or a starter colony.
Understanding hives in QueenBees
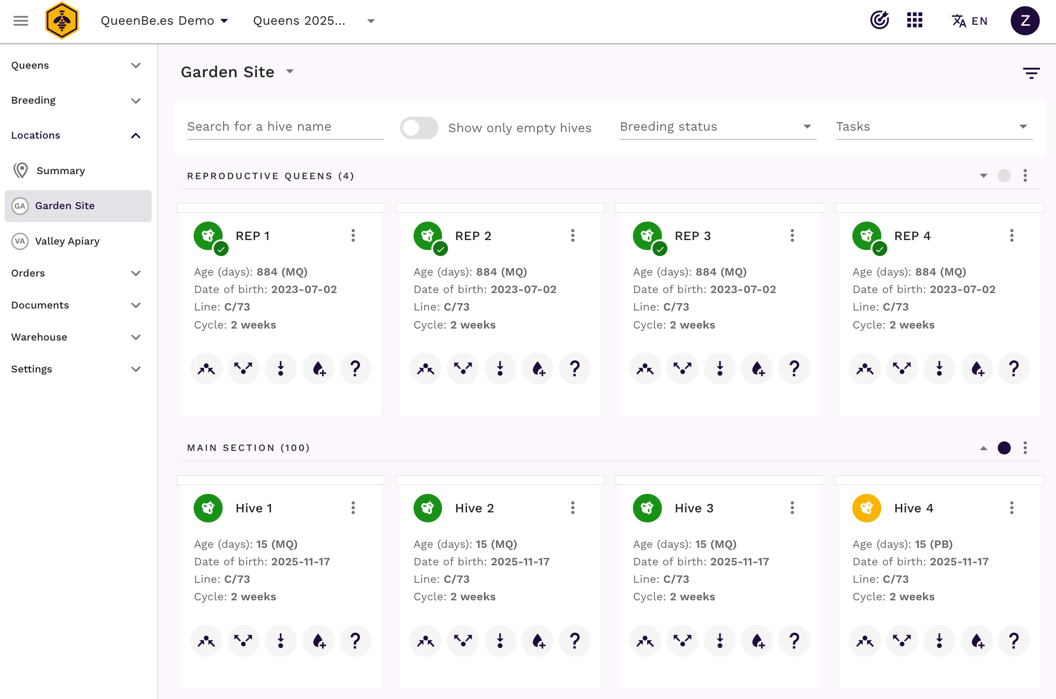
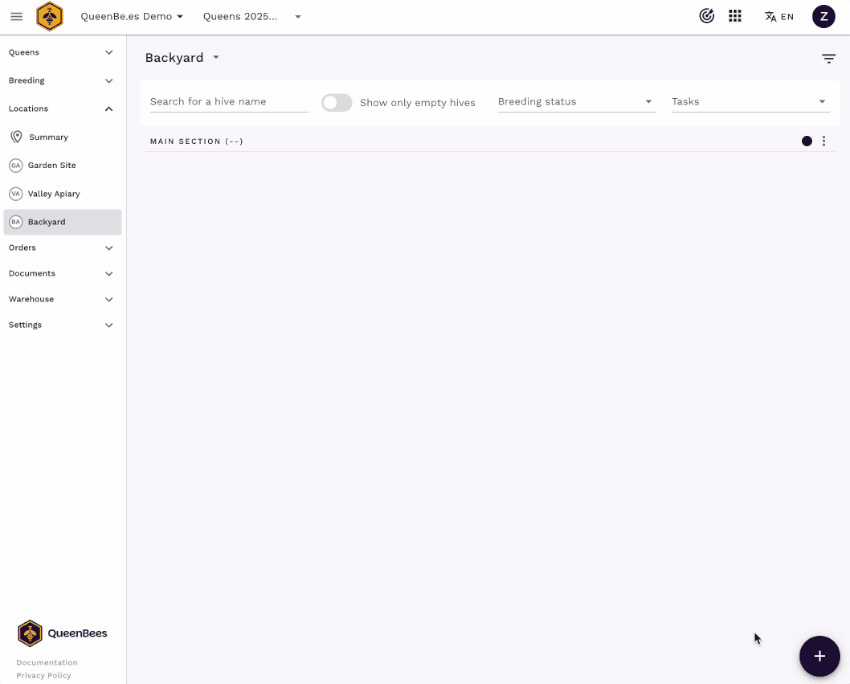
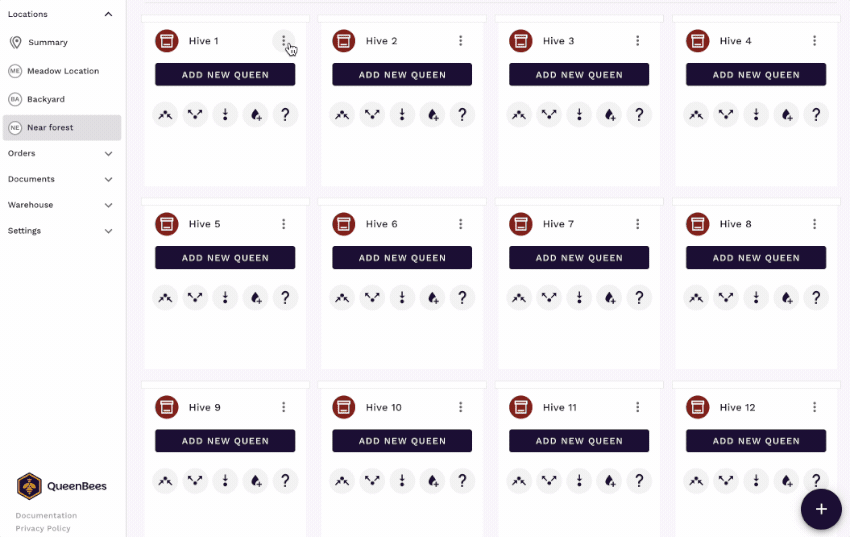
A hive in the app represents any container that can hold bees - full hives, nucleus colonies, mating nucs, or even empty equipment ready for use. You can create and find hives from the Locations section of the app.
Hive statuses
Every hive has a status that tells you what’s going on:
- Empty - ready for queen
- Active - has a queen in it
- In warehouse - stored equipment, removed from location - not currently in use
What you track for each hive
For every hive, you can see:
- Name - however you identify it (numbers, colors, whatever works)
- Location and area - exactly where it sits in your apiary
- Queen information - if there’s a queen, her details and progress
Before you start
- You need at least one location set up before adding hives
- Each hive must be assigned to a specific area within a location
- Hive names can be anything that makes sense to you
- You can add hives one at a time or multiple hives at once
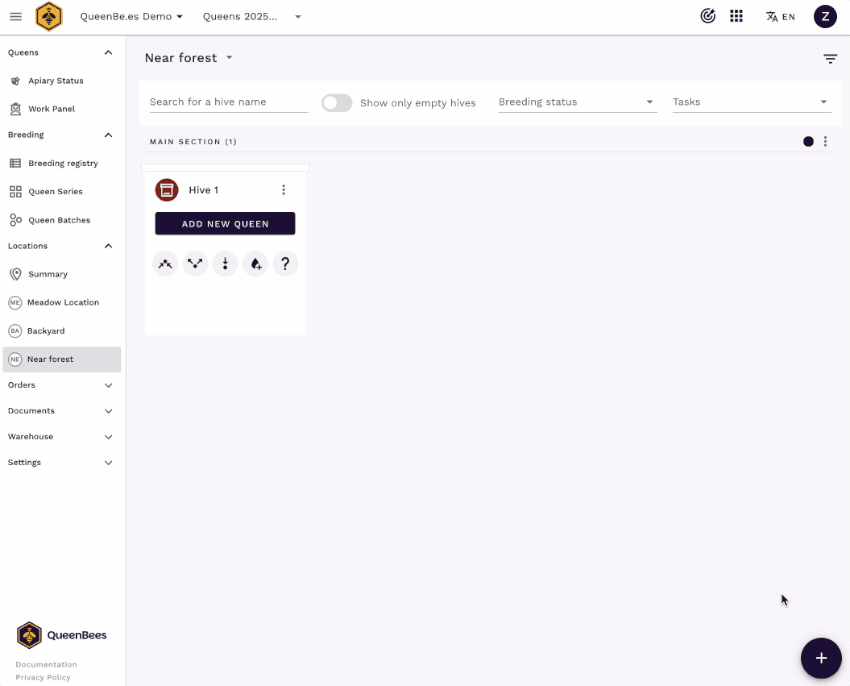
Creating your first hive
Adding a single hive
- Go to the location where you want to add the hive
- Click the “+” button at the bottom right corner and choose “Add hive” option
- Give it a name - could be a number, color, or description
- Choose the area within your location
- Save the hive
Naming your hives
Choose names that work for you in the field:
- Numbers - Hive 1, Hive 2, simple and clear
- Colors - Blue hive, Red hive (if you paint them)
- Positions - Front row left, Back corner
- Combinations - 1a, 1b, 2a, 2b, DB 01
The important thing is consistency so you can find them easily.
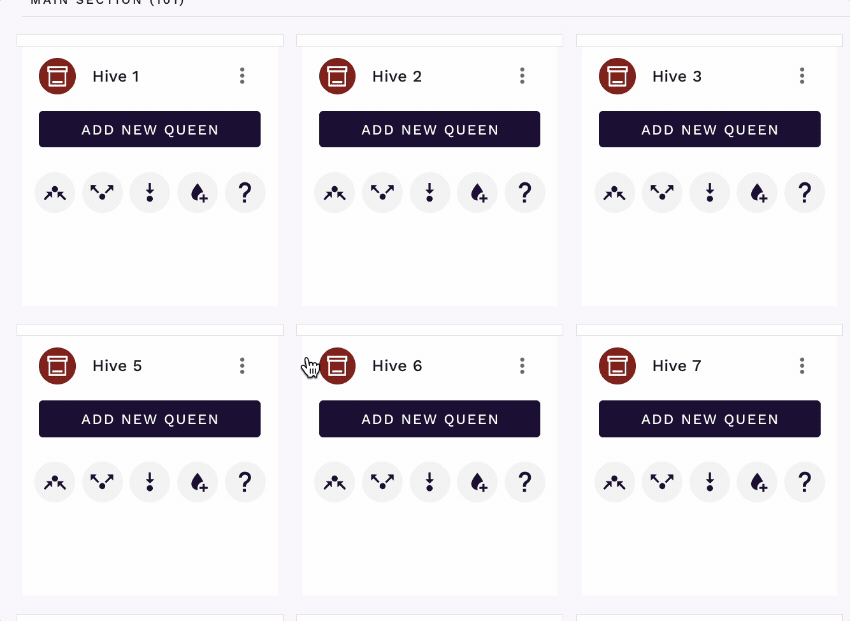
Adding multiple hives at once
When you’re setting up a new yard or expanding, you can add several hives quickly.
Bulk hive creation
- Go to your location and from bottom right “+”" button choose “Add multiple hives”
- Choose how many you want to create
- Select if you want to add a/b splitting (for Mini Plus hives)
- Pick a naming pattern - the app can number them automatically
- Select the area where they’ll all go
- Create all hives
This is perfect when you’re setting up a new yard with 10 or hundreds identical hives.
Naming patterns for multiple hives
The app can automatically name multiple hives:
- Sequential numbers - Hive 1, Hive 2, Hive 3…
- Splittin with letter combinations for Mini Plus hives - 1a, 1b, 2a…
- Custom prefix - North-1, North-2, North-3…
Editing hive information
You can change hive details anytime as your operation evolves.
What you can change
- Name - if you renumber or rename your hives
- Location and area - when you physically move hives
How to edit a hive
- Find the hive in your location view
- Click on the hive three dots or use the edit option
- Make your changes to name or location
- Save the updates
Moving hives between locations
Sometimes you need to move hives from one location to another, or reorganize within a location.
Moving a single hive
- Open the hive you want to move
- Click “Edit hive”
- Change the location and/or area
- Save the changes
The app records where the hive came from and where it went.
Moving multiple hives
Moving multiple hives is possible from warehouse view.
- Select the hives you want to move (use checkboxes)
- Choose “Move” from the actions menu
- Pick the destination location and area
- Confirm the move
This is handy when you’re moving a whole group from warehouse to location.
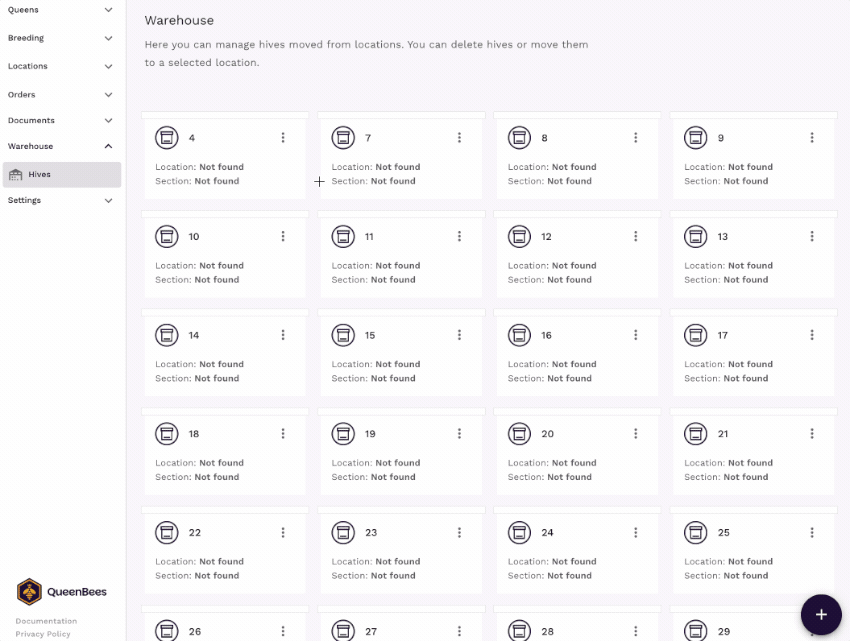
The warehouse concept
The “warehouse” is a special place for equipment that’s not currently being used in the field.
When to use the warehouse
Move hives to the warehouse when:
- Winter storage - equipment not being used during the off-season
- Extra equipment - spare boxes you’re not using right now
- Damaged hives - equipment that needs repair before going back out
- Between seasons - when you’re reorganizing your operation
Moving hives to warehouse
- Select the empty hive(s) you want to store
- Choose “Move to warehouse”
- Confirm the action
Warehouse hives don’t count in your location statistics, keeping your active counts accurate.
Removing hives permanently
Sometimes equipment gets damaged beyond repair or you sell it off.
- Move the hive to warehouse first (if it’s not already there)
- Select the hive in the warehouse
- Choose “Delete hive”
- Confirm you want to remove it - this can’t be undone
Warning
Be careful: Removing a hive deletes all its history of connection with queens. Only do this for equipment you’ll never use again.
Need Help?
If you have any questions about hives or need assistance with configuration, our team is here to help.
- Contact our support team for setup assistance.
- Visit our contact page for a personalized consultation.
- WhatsApp support for quick queries or feature requests.